
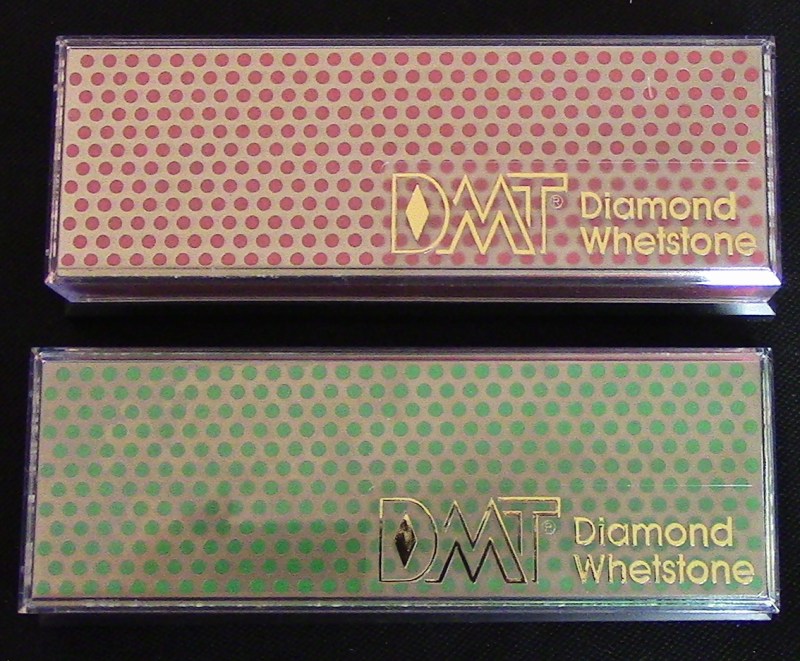
Throughout my time as a Reed Maker I have worked with a lot of different knife sharpening stones and methods. But my favorite has been sharpening with the Diamond Whetstone using the Grinding Method followed by Adding a Burr. Tutorial linked below.
I came across Grinding as a form of knife Sharpening in my college days only after I destroyed my knife. 😦
At the time, the method I’d been using (which I don’t even want to share because it was so ruthless) increased the Burr each time I sharpened the knife.
As you can imagine, this left me with inconsistent reed scraping results. And because the burr bends the fragile edge of the blade over so it is not straight… and I kept increasing the fragile edge… it finally bent completely over and portions of my knife edge chipped away.
And I am NOT talking little chips visible with a microscope. But Huge Indentations of at least 1/2 mm in width and height, easily visible from a distance.
I am sure you can imagine to a poor college student, where every penny counts, the horror of a $80 knife chipping and breaking.
Sometimes I think fate helped me make all the mistakes so that I am an empathetic teacher. And now I can share my experiences so you don’t have to have these moments.
In my desperation I even considered trying to still use the chipped knife but the sad reality was an uneven scrape. The broken knife left high points and low points in the reed when I tried to use the chipped knife edge on a blank.
The only way to fix the knife was to Grind Away the Chips, removing the inconsistencies in the blade. This made my knife significantly smaller, took hours to accomplish and shortened the overall life. But at least I was able to salvage a portion of the blade for use.
Since then I have moved on to Grinding My Double Hollow Ground Knives on a Diamond Whetstone Series of Stones on a regular basis.
In case you are not familiar, Grinding is the process of resetting the blade each time the knife is sharpened. It will also remove the burr, saving you from a chipped blade.
Yes, it does remove a bit of metal each time you sharpen the blade. This is because diamond is stronger than metal. And, although the blade will become smaller each time the knife is sharpened with this method, it is quick, effective and keeps a consistent edge to the knife.

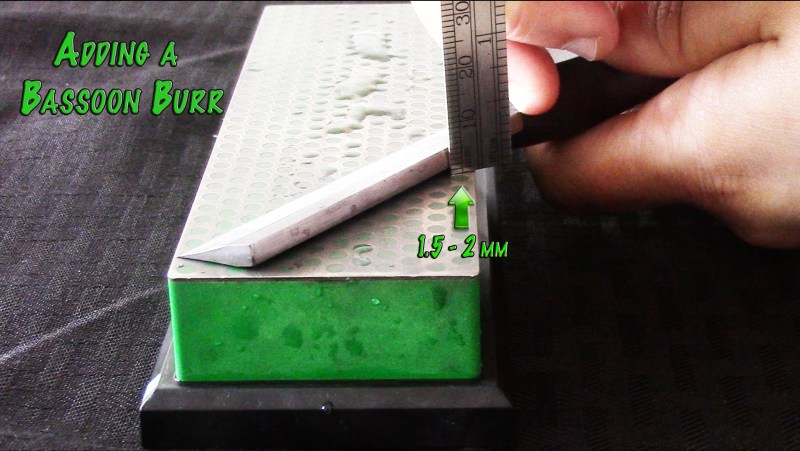
After the blade is reset by Grinding I add an angle to the blade of the knife. This is called a Burr. The Burr alters how much the knife catches on the cane. For Oboe I like to have a knife that can dig and remove bark but for Bassoon I prefer a knife that has less of a burr and can glide over the cane. This helps me not catch on the edge of any crevices but instead glide over them and ease the high edges out.
So- Minimal Burr for Bassoon and Slightly More Burr for Oboe.
Lydia, my student at JSU, is the studio sharpening Guru. She regularly sharpens our studio knives and generously also takes care of my own private collection of knives. In this tutorial I thought it would only be fitting to have her share her expertise in the online tutorial.
On a side note I have to say that Lydia is a bit of a comedian and I think she’s hilarious. She can always get a smile out of me if not full blown laughter, even when I’m trying to be focused and even stern.

Filming this tutorial was a highlight of laughter in my week. I tried to keep it professional but I left some of the rough cut edits at the end of the video in case you want to see her in action cracking me up.
Here’s to hoping you can skip the chipped blades I experienced AND get the added bonus of a giggle into your ninja knife sharpening skills courtesy of Special Guest Lydia.
